看到WunderList上面自己的point越来越多,并且很多是完成了一部分,虽然知道可以通过OmniFocus或者OmniOutliner之类的进行管理,但是介于之前对Phabricator的好感与熟悉,还有觉得Phabricator可以带来更多可能,以及自己所有的私有项目都是在自己的gitlab 上维护了,因此决定搭建以后Phabricator后面所有的任务在WunderList有进度后,都用Phabricator维护: https://phab.jacksgong.com (说实话,自己用刚开始还确实有点被我朋友言中 – 略显孤单.. )
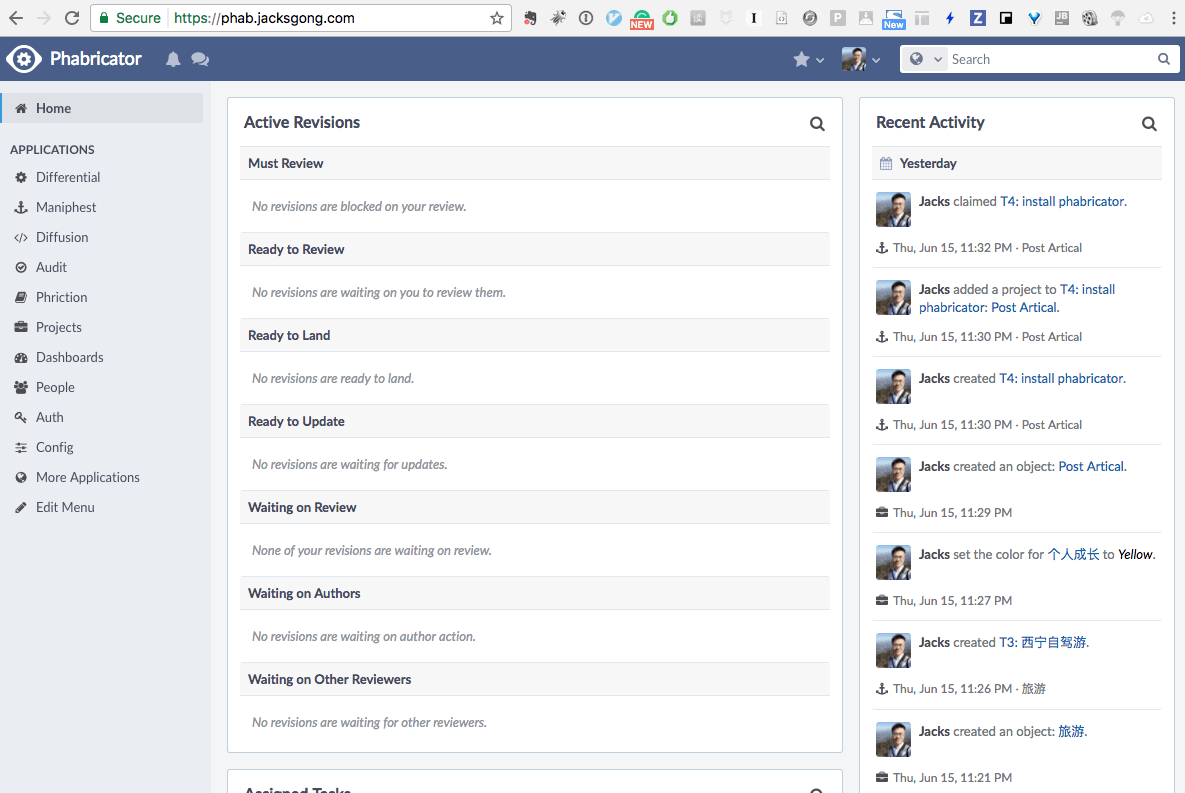
前言 先上图吧
I. 准备环境 根据之前的服务器维护文章 ,安装好git与nginx环境,而后进行以下操作
1. 创建Phabricator用户 并加入sudo群组
1
2
adduser phab --home /home/phab
我们这里考虑后面将所有的Phabricator相关的都放到/var/www/phab下面因此
1
2
mkdir /var/www/phab
2. 安装php7.1 Phabricator不支持php7.0,而目前php7.1只有再ppa上有
1
2
3
sudo add-apt-repository ppa:ondrej/php
3. 安装Mariadb 这边选用Mariadb而非MySQL的原因是,Mariadb对MySQL兼容并且拓展了很多功能,已经修复了MySQL中的一些BUG以及各类优化
1 sudo apt-get install mariadb-server-10.0 mariadb-client-10.0
II. 配置 1. 拉取Phabricator 这边我将Phabricator存放在/var/www/phab下:
1
2
3
4
cd /var/ www/phab//gi thub.com/phacility/ libphutil.git//gi thub.com/phacility/ arcanist//gi thub.com/phacility/ phabricator.git
2. 配置nginx 如果你的nginx环境就是在服务器维护 这篇文章配的,那么到/etc/nginx/sites-available目录,创建phabricator.conf,添加以下内容。
注意将下面的phab.jacksgong.com替换为你的域名,如果你的phabricator不是在/var/www/phab下面就将/var/www/phab/phabricator/webroot改为你的路径。
1
2
3
4
5
6
7
8
9
10
11
12
13
14
15
16
17
18
19
20
21
22
23
24
25
26
27
28
29
30
31
32
33
34
35
36
37
38
39
40
41
42
43
server {
然后链接到enable中
1
2
cd ../sites-enabled
重新加载Nginx:
1 sudo service nginx reload
至此站点应该可以访问了,但是打开站点以后你会看到提示要配置数据库。
3. 配置数据库 默认Mariadb的root账户在root用户下是不用密码的,因此通过sudo进入
登陆数据库以后,注意屏幕有前缀mysql>
可以将下面的账户密码替换为你想要的。
1
2
3
4
mysql> create user 'phabricator' @'localhost' ;grant all privileges on *.* to 'phabricator' @'localhost' ;set password for 'phabricator' @'localhost' = password ('12345' );exit ;
登记数据库用户信息到Phabricator(下面的账户密码替换为刚刚你添加的):
1
2
3
4
5
cd /var/www/phab/phabricatorset mysql.host localhostset mysql.port 3306set mysql.user phabricatorset mysql.pass 12345
至此Phabricator可以正常访问。
III. 配置HTTPS(option) 首先根据之前的服务器维护文章 为域名申请好证书
然后在原本的Nginx的conf基础上添加:
1
2
3
4
5
6
7
8
9
10
11
12
13
14
15
16
17
18
19
20
21
22
23
24
25
server { # ssl
然后到Phabricator目录配置base-uri:
我们可以通过./bin/config list列出所有支持配置的参数。
1 ./bin/config set phabricator.base-uri 'https://phabricator.yoursite.com/'
最后根据官方文档 进行配置:
到phabricator目录: /var/www/phab/phabricator创建: support/preamble.php,这个php在每次加载站点的时候都会被加载,并且在版本管理中已经ignore了,所以不用担心后期升级的冲突。
由于我们是通过nginx进行负载均衡,往phabricator中请求的,所以添加以下到preamble.php文件中:
1
2
3
4
5
6
7
8
9
10
11
12
13
14
15
16
17
18
19
20
<?php if (isset ($_SERVER ['HTTP_X_FORWARDED_FOR' ])) {$forwarded_for = $_SERVER ['HTTP_X_FORWARDED_FOR' ];if ($forwarded_for ) {$forwarded_for = explode (',' , $forwarded_for );$forwarded_for = end ($forwarded_for );$forwarded_for = trim ($forwarded_for );$_SERVER ['REMOTE_ADDR' ] = $forwarded_for ;
在preamble.php中配置开启HTTPS:
1
2
3
4
5
<?php $_SERVER ['HTTPS' ] = true ;
至此以全部配置完成,我的phabricator: https://phab.jacksgong.com
P.S. 可以使用php -l support/preamble.php 来检查preamble.php中是否存在php语法错误。
IV. 更多配置 1. 时区 亚洲时间表: http://php.net/manual/en/timezones.asia.php
使用php的date函数需要配置时区,如在/etc/php/7.1/fpm/php.init中配置上海时区:
1 date.timezone = Asia/Shanghai
2. 大文件存储 nginx配置,在service中增加:
1 client_max_body_size 32 M
php.init中配置:
每个参数的含义参考php官方文档与phabricator大文件配置稳定
1
2
3
4
post_max_size = 32 Mmemory_limit = -1 max_input_vars = 1000 upload_max_filesize = 32 M
3. MySQL相关配置 最大大小
1 ./bin/config set storage.mysql-engine.max-size 8388608
本地文件系统配置
先创建一个phabricator可写入的文件夹(可以用前面创建的phab账户创建一个755权限的目录,或者是其他账户777的权限当然也可以访问啦),好了以后执行:
1 ./bin/ config set storage.local-disk.path /path/ to/store/ phabricator/files
其他性能调优,到my.cnf下配置(sudo vim /etc/mysql/my.cnf,如果是用了mariadb,可以设置/etc/mysql/mariadb.conf.d/50-server.cnf)
1
2
3
4
5
6
7
[mysqld] innodb_buffer_pool_size =1600 Msql_mode =STRICT_ALL_TABLESmax_allowed_packet =33554432 local_infile =0
然后重启
1 sudo service mysqld restart
4. 配置Phabricator账户 我们前面步骤创建的
1 ./bin/config set phd.user phab
5. 配置environment.append-paths 1 ./bin/ config set environment.append -paths '["/usr/bin", "/usr/lib/git-core"]'
6. 配置开启pygments 1 ./bin/config set pygments.enabled true
7. 配置Outbound发邮件 首先根据站点配置 中的安装sendmail教程,安装好sendmail,然后只需要进入Phabricator,打开Config > Core > Mail中配置:
V. 常用指令 1. 重置密码以及授权访问 1 ./bin/ auth recover <用户名>
2. 删除所有phabricator的数据 1 sudo ./bin/ storage destory
3. 迁移数据 迁移数据可以直接参照这里 ,需要注意的是不仅仅要迁移数据库,还有上传的各类文件等等